Making a crochet dinosaur is really fun! We have a list of easy Crochet Dinosaur Patterns to help you make cute dinosaur toys. These patterns are simple, so you can enjoy making your very own dinosaur friend. Our guide will show you how to crochet adorable dinosaurs step by step. This is a great way to add a fun and elegant dinosaur to your collection of crochet creations. Get ready to have a good time creating your own dinosaur amigo!
Easy Crochet Dinosaur Patterns
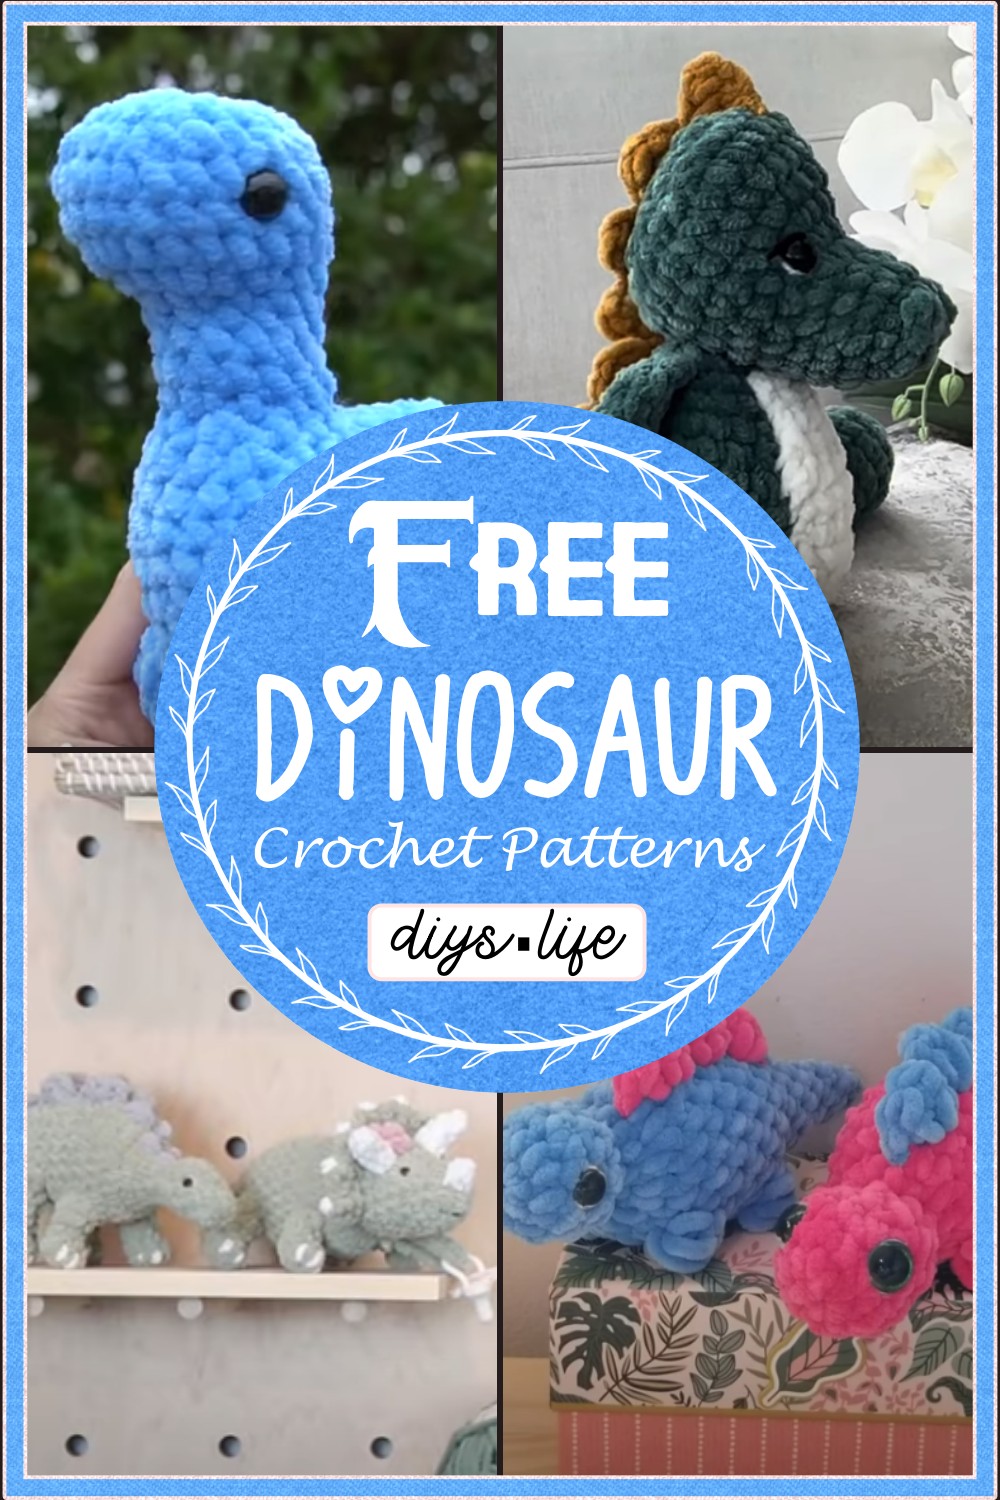
Crochet Dinosaur Tutorial For Beginners
This cute crochet dinosaur pattern is perfect for both seasoned crafters and budding crochet enthusiasts. With some basic materials and a splash of creativity, you'll construct a soft and cuddly dinosaur that's bound to be a hit with kids and adults alike. Imagine the magical adventures that await with your handcrafted prehistoric friend.
Materials Needed:
- Crochet Hook: 5 mm size
- Scissors
- Yarn Needle
- Safety Eyes: 12 mm (or size to match the yarn weight)
- Yarn: Light blue Premier parfait chunky yarn, or your preference
- Stuffing: Ample quantity for filling
Abbreviations Used:
- ch: chain
- sc: single crochet
- inc: increase (two sc in the same stitch)
Making Process:
Legs (make 4):
- Start with a slip knot, chain two to create a magic ring.
- Round 1: 5 sc into the magic ring.
- Round 2: 5 inc (total will be 10 stitches).
- Rounds 3 to 5: sc around (three rounds).
Body:
- After completing all four legs, set them aside.
- Begin with a magic ring.
- Round 1: 8 sc into magic ring.
- Round 2: 8 inc (total will be 16 stitches).
- Connecting Legs: Use sc to join legs to body; the exact joining process should follow the pattern established in the video, with attention paid to the leg position.
- Continue to crochet around, integrating the legs into the shape of the body.
- Follow instructions for the next rounds with increases and single crochets, focusing the decreases towards the back of the dinosaur for proper shaping.
Finishing:
- Continue constructing the dinosaur based on the pattern instructions, adding decreases where necessary.
- Ensure that your decreases create the back curve of the dinosaur.
- Follow through the subsequent rounds until you complete the body shape.
How To Crochet Dinosaur Keychain
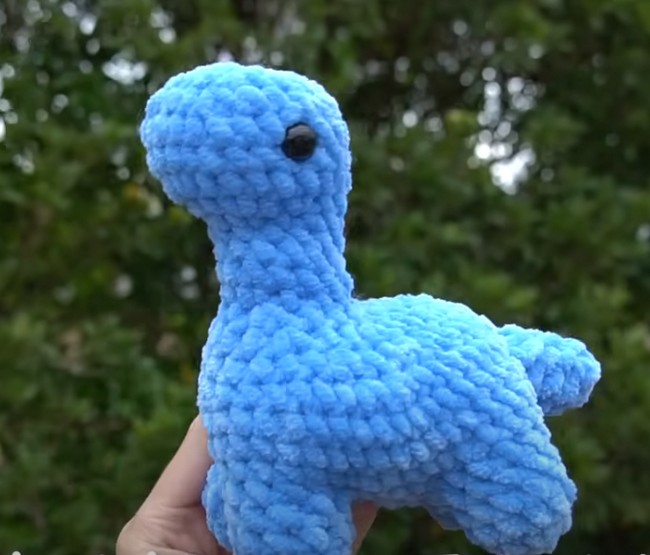
Introduction to Free Crochet Dinosaur Pattern
Embark on a delightful crocheting adventure and bring to life your very own adorable plush dinosaur! This pattern will guide you through the process of creating a cuddly prehistoric pal using simple crochet techniques. Ideal for crocheters of all levels, it’s a perfect project to gift to dinosaur enthusiasts or to add a touch of whimsy to any room. Let's gear up with the essentials and dive into the steps for creating this playful creature.
Materials Needed:
- Plush yarn in three different colors: Green, Mustard, and Cream
- 5 mm crochet hook
- Black safety eyes
- A pair of scissors
- Darning needle
- Stitch marker
- Fiberfill for stuffing
Abbreviations Used:
- ch: chain
- sc: single crochet
- inc: increase (two sc in the same stitch)
- dec: decrease (crochet two stitches together)
- rnd: round
- st(s): stitch(es)
Making Process:
- Body: Begin with the green yarn and create a slip knot. Chain two, then work 8 sc in the second chain from the hook. Work in a spiral, using increases to expand the round and single crochet stitches for rows, to form the body. Decreases will be used later to shape the dinosaur.
- Belly Patch: Using the cream yarn, chain eight. Work in rows starting with sc in the second chain from the hook and turn your work at each end with a chain one to create flat rows. Decreases will shape the belly patch on later rows.
- Arms and Legs: Similar to the body, start with chains and a series of increases and rounds of sc to build the limbs. Decreases will help shape the tapered ends, and stuffing is added before sealing the limbs.
- Tail: Start with chaining and work in rounds with a pattern of increasing in each row to create a tapered tail, which will be fastened off and later attached.
- Head: Begin with chains and work on both sides to create a flat oval base. Increases and a series of rounds with single crochets will shape the head. Insert safety eyes and fill with fiberfill, then close with decreases.
- Spikes: Use the mustard yarn to chain and create a series of triangles with alternating half double crochets and double crochets to form the spikes running down the dinosaur's back.
- Assembly: Sew the belly patch onto the body, attach the limbs, tail, and head. Then, position and sew on the spikes along the back. Add fine details such as nostrils with black yarn and eye details with white and black yarn.
Upon completion, you'll have a charming, plush dinosaur that's bound to be a unique and treasured handmade piece.
No Sew Crochet Dinosaur
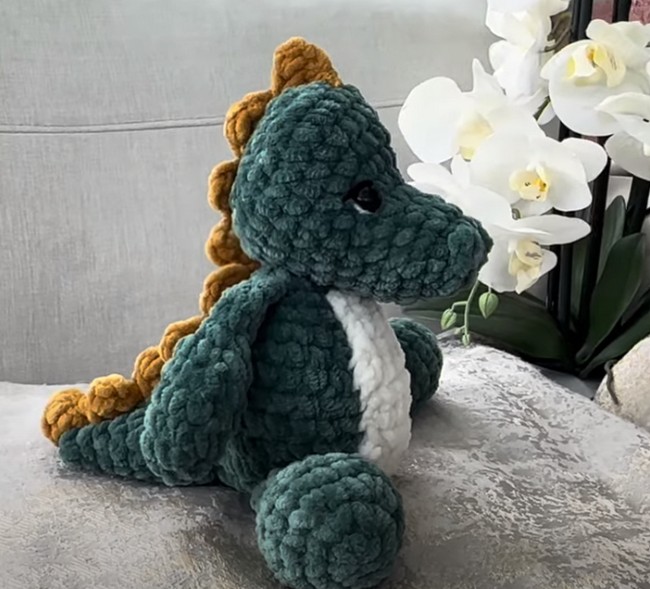
This crochet dinosaur pattern offers a fun and creative way to craft your very own prehistoric friend. Designed with simplicity in mind, it is perfect for both beginners and experienced crocheters looking for a quick project. The dinosaur is crafted using soft, velvety yarn to create a cuddly companion for dinosaur enthusiasts of any age. The entire body is crocheted in one piece, with scales added directly to the back, eliminating the need for sewing separate parts.
Follow this easy guide to create a charming dinosaur that's sure to be a hit with anyone lucky enough to receive it.
Materials Needed
- 2 colors of Weight 6 Chenille yarn (velvety yarn preferred)
- 5.5 mm crochet hook (size can vary slightly according to preference)
- Scissors
- Polyfil stuffing
- Safety eyes (optional)
Abbreviations Used
- mc: magic circle
- sc: single crochet
- inc: increase (2 sc in one stitch)
- dec: decrease (single crochet two together)
- st: stitch
- [ ]: repeat instructions in brackets the specified number of times
- bobble stitch: a textured stitch made by partially completing several double crochets into the same stitch and then pulling through all the loops on the hook at once
Making Process
Head & Body: Start with a magic circle and work 6 sc into it. For the next round, increase in each stitch (12 sc). Continue by working one sc into each stitch for three rounds (12 sc each round). Add safety eyes between rows 3 and 4 if desired. Then, decrease in each stitch around for a total of 6 stitches; lightly stuff the head. Proceed to increase and create the body by repeating patterns of sc and inc st.
Limbs: Arms and legs are created using the bobble stitch for a textured look. The placement of these will depend on where the eyes are placed, aiming to have the limbs align with the eyes for a balanced look. Follow specific counts of sc before and after each bobble stitch as outlined in the pattern to shape the dinosaur's body.
Scales: The scales are added directly onto the back of the dinosaur using a contrasting color. Attaching the new yarn with a slip stitch, work three double crochets in one spot on the back, then slip stitch in the next to create the scale. Repeat this process to create three scales down the dinosaur's back.
Finishing: Complete the tail with decreasing stitches and stuff as necessary. Finish off by sewing or weaving in ends securely. To add detail and finalize the dinosaur, the tail end should be closed, and any additional stuffing adjustments can be made at this point.
This crochet pattern offers a delightful project resulting in a dinosaur full of personality and charm. Enjoy crafting your own adorable prehistoric companion!
Cute Crochet Dinosaur Pattern
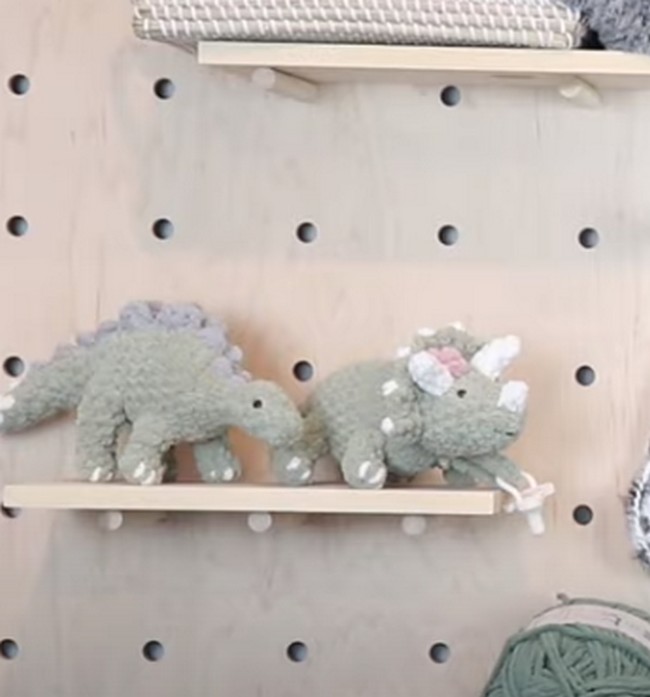
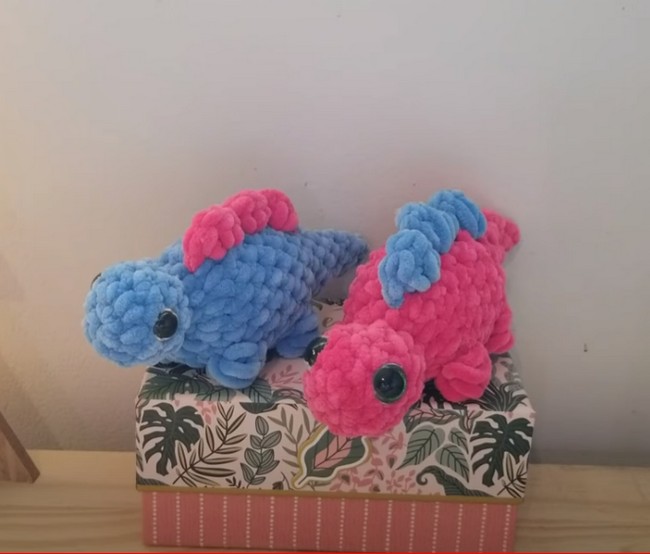
Creating a crochet dinosaur pattern can bring a touch of prehistoric charm into your crafting repertoire. This delightful project is perfect for crochet enthusiasts looking to add a unique and adorable creation to their collection. Inspired by a step-by-step guide, this pattern will walk you through the process of bringing a cute dinosaur to life. It's suitable for intermediate crocheters, or adventurous beginners ready to expand their skills. As you follow along, you'll craft a dinosaur that's not only a fantastic toy but also a great decorative item or gift.
Materials Needed:
- Yarn: Green yarn for the body, white for the teeth, and a color of your choice for the spots.
- Crochet Hook: Size that matches your yarn's recommendation.
- Stuffing: To give your dinosaur shape and softness.
- Safety Eyes: To bring your dinosaur to life.
- Yarn Needle: For sewing pieces together.
- Scissors: For cutting yarn.
Abbreviations Used:
- ch: chain
- st: stitch
- sc: single crochet
- inc: increase (two sc in the same st)
- dec: decrease (sc two together)
- sl st: slip stitch
- [ ]: Repeat instructions within brackets as directed
Making Process:
- Head & Body:
- Start by creating a magic circle and work in round to form the head.
- Increase stitches evenly in each round until you reach the desired width for the head.
- Continue crocheting without increasing to extend the head into the body.
- Begin decreasing stitches to form the bottom part of the dinosaur, and finish off by filling with stuffing before closing.
- Limbs (Make 4):
- Start with a magic ring and crochet in rounds, following a pattern of increasing and then straight rounds to get the length.
- Fill lightly with stuffing before attaching to the body.
- Tail:
- Begin with a magic circle and work similarly to the limbs but make the tail longer.
- Decrease stitches towards the end to taper the tail. Fill with stuffing as necessary and attach to the body.
- Spikes:
- Create individual spikes by crocheting small triangles.
- Sew them along the back of the dinosaur from the head down to the tail.
- Assembly:
- Sew the limbs and tail onto the body at the desired positions.
- Attach safety eyes and embroider any additional facial features.
- Optionally, sew on white yarn to create teeth around the mouth area, and add colorful spots using yarn in a contrasting color.
This crochet dinosaur pattern is a fun project that can be customized in endless ways. Choose different yarn colors to make a variety of dinosaurs, from realistic shades to fantastical, bright hues. Enjoy bringing this prehistoric creature to life with your crochet skills!

Leave a comment