Are you ready for some super fun crocheting? Let's make some adorable Elmo accessories together! We've got the simplest patterns for you to follow, so you can easily add a cute Elmo to your crochet collection. Making them is really fun, and we've prepared a special list of Elmo patterns in our guide. With our step-by-step instructions, you'll be making elegant Elmo toys and accessories in no time.
Crochet Elmo Patterns

Easy Crochet Elmo Hat
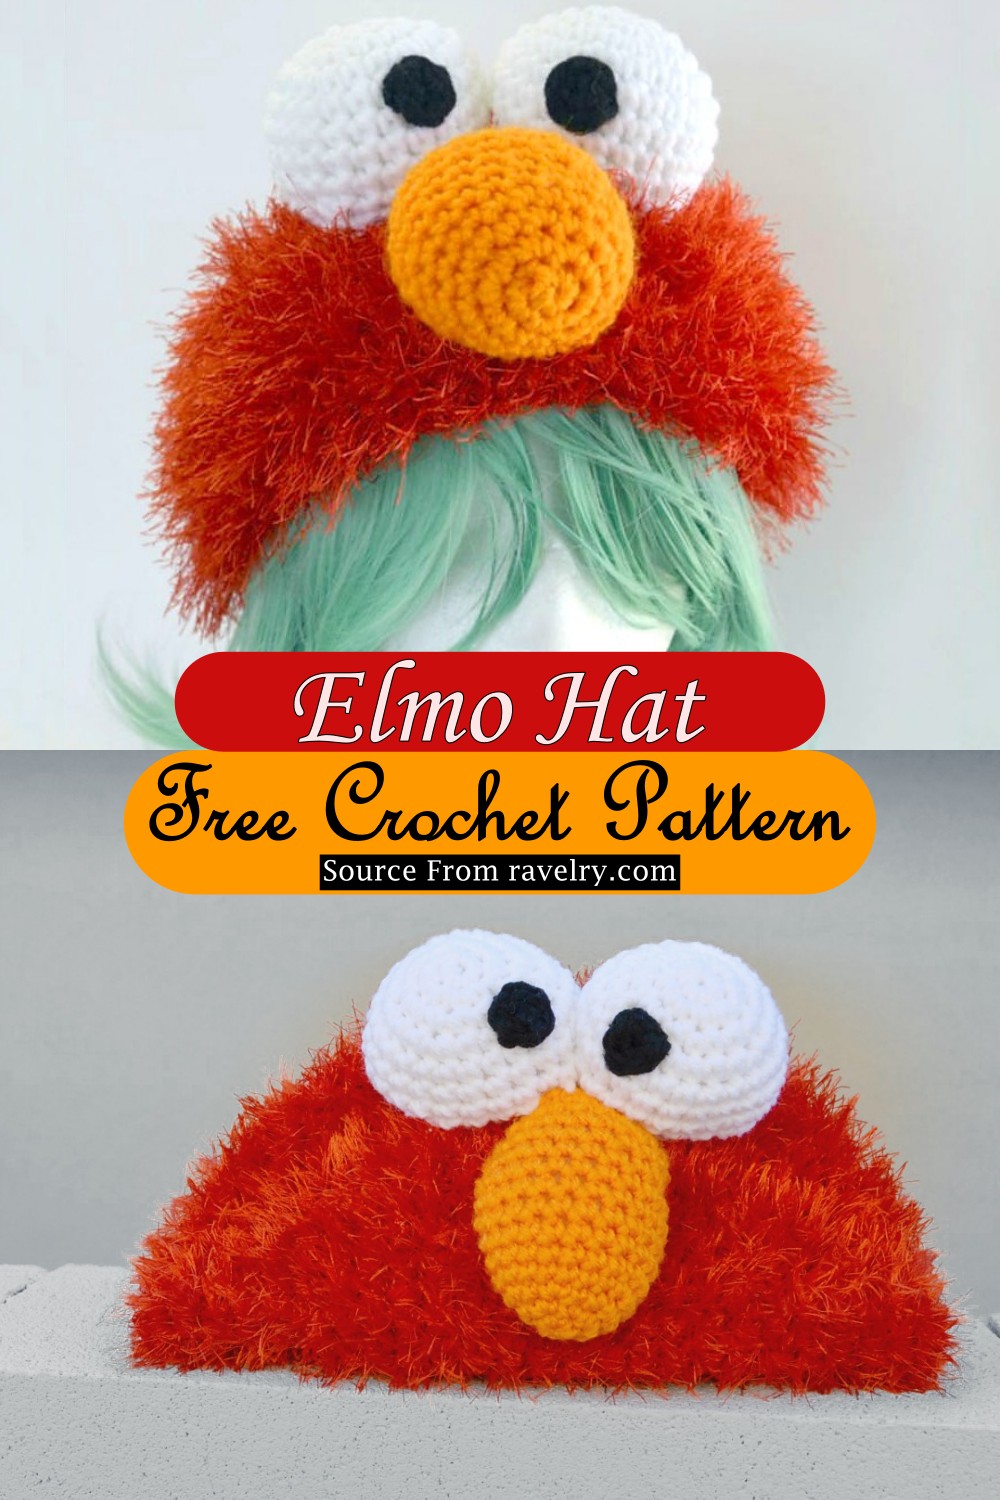
This guide for creating a delightful crochet Elmo hat, perfect for fans of the beloved Sesame Street character. This hat utilizes the fun and textured eyelash yarn to bring Elmo to life, making it a fantastic project for crocheters looking to add some fuzzy charm to their creations. Whether you're crafting for a child or an adult, this pattern offers a whimsical addition to any wardrobe or costume collection.
Materials Needed:
- Yarn: Ice Yarn Long Eyelash (Red), Red Heart Super Saver (Cherry Red, White, Pumpkin, Black)
- Crochet Hooks: 5.5mm and 5.0mm sizes
- Notions: Yarn Needle, Stitch Marker, Scissors, Polyfill
Abbreviations: (US Crochet Terminology)
- ch - Chain
- sc - Single Crochet
- sc2tog - Single Crochet 2 Stitches Together
- sl st - Slip Stitch
- st - Stitch
Making the Pattern:
Elmo Hat Base:
- Follow the Cookie Monster Hat pattern for the base in Red, adjusting the size from toddler to adult as the pattern provides.
Eyes (Same as Cookie Monster):
- Use the eyeball and pupil instructions from the Cookie Monster Hat pattern.
Nose - Adult and Teen Size:
- Start with a magic ring using a 5.0mm hook and orange yarn.
- Round 1: 6 sc into the magic ring.
- Round 2: Increase in each stitch around (12 sc).
- Rounds 3-9: Continue increasing at intervals specified in the provided pattern, then follow instructions for decreasing and finishing.
Nose - Toddler through Tween Size:
- The process mirrors the adult size but starts with increases leading to 15 sc in round 3 and concludes with a similar decrease and finish process adapted for a smaller size.
Assembly:
- Finish by hiding all yarn ends in the hat base.
- Sew the eyeballs onto the hat, positioned as if on Elmo's face, after the seventh round from the bottom.
- Attach the pupils onto the eyeballs.
- Sew the nose below the eyeballs.
- Tidy up the hat by hiding and cutting any remaining ends.
This adorable Elmo crochet hat is not only a delightful project to work on but also a wonderful handmade gift for fans of all ages. Enjoy bringing a piece of Sesame Street to life with your crochet skills!
Free Crochet Elmo Beanie
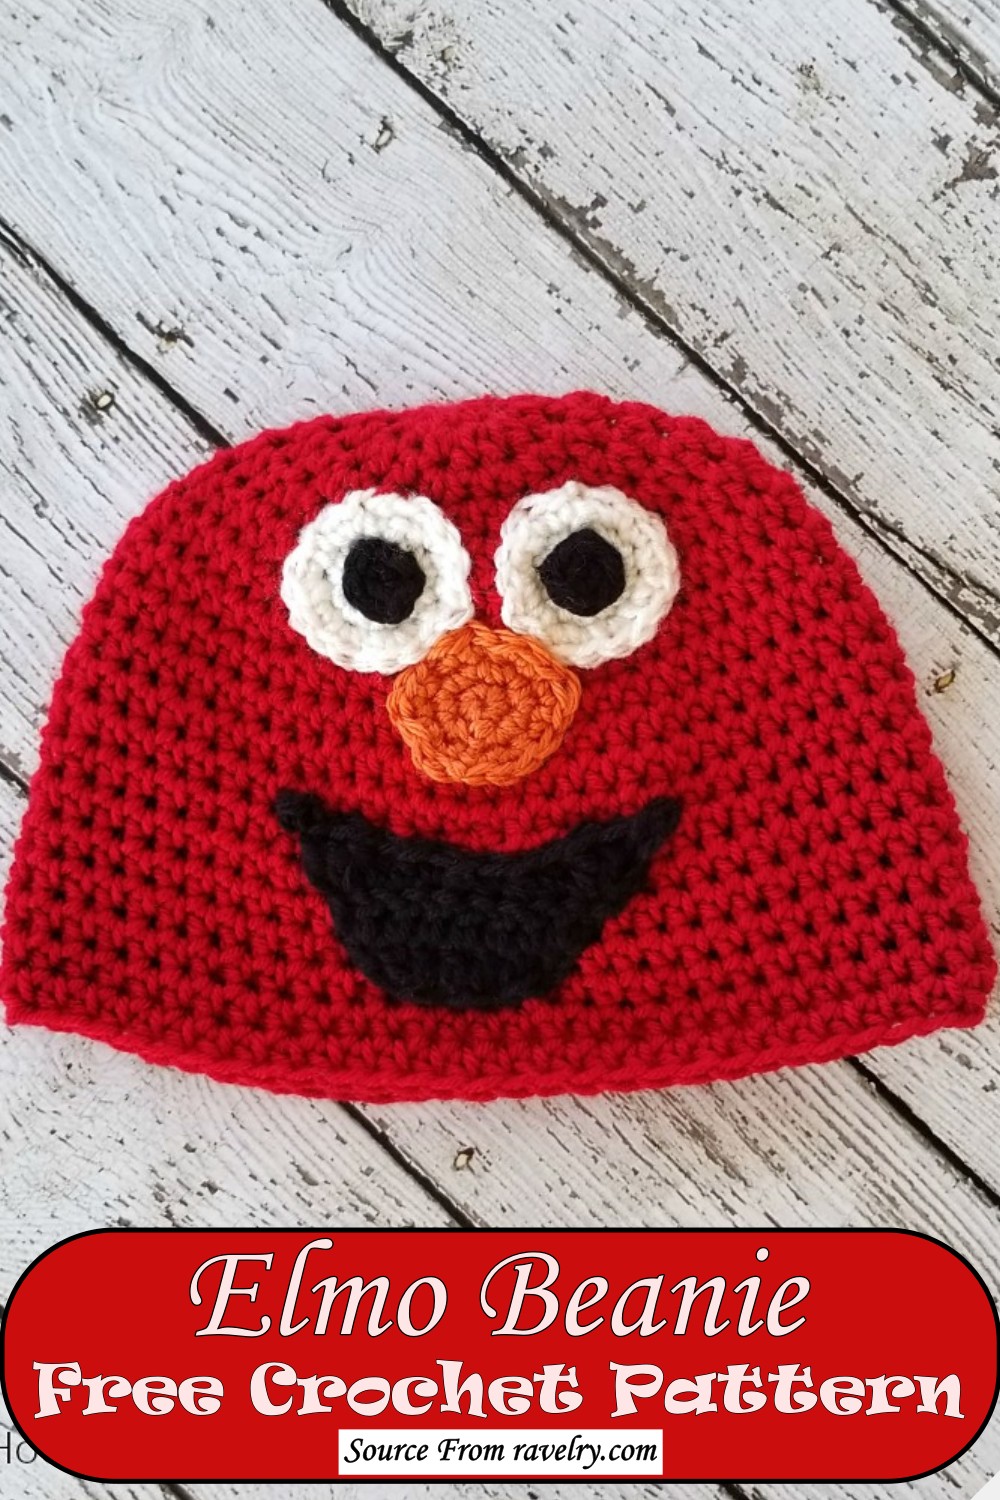
Crochet this free Elmo beanie pattern isn’t too hard to make, and it comes out looking super cute for an infant or toddler. This hat is made in the round and comes out being bright red and soft, just like Elmo. This beanie features a crochet Elmo face. The hat is made from dark red acrylic yarn and fits most 4-6-year-olds but could fit other ages by adjusting the length of the visor. Initially made for a week-long Halloween costume by request of my kiddo! The hat is hand crocheted has very soft yarn and two layers to keep little heads warm.
Materials Needed:
- Soft worsted weight cotton or acrylic yarn in red, small amounts of orange, black, and white
- 6.0 mm crochet hook
- Yarn needle
- Scissors
- Stitch markers
Abbreviations:
- sl st – Slip Stitch
- ch – Chain
- hdc – Half Double Crochet
- sc – Single Crochet
- dc – Double Crochet
- magic ring – A technique to start crocheting in the round
Making the Beanie
Starting the Beanie:
- Begin with red yarn, make a magic ring.
- Round 1: Chain 1, work 10 hdc into the ring. Do not join; you'll work in spiral rounds.
- Round 2: Work 2 hdc in each stitch around (20 hdc).
- Round 3: hdc in the next stitch, 2 hdc in the following stitch, repeat around (30 hdc).
- Continue increasing in this pattern until Round 6, where you should have 60 hdc.
Forming the Body of the Beanie:
- For Rounds 7 through 19, hdc in each stitch around, maintaining 60 hdc. This will form the body of the beanie.
- To finish, sc in the next 2 stitches, slip stitch in the next, and fasten off, weaving in the ends.
Creating the Face
Eyes: Make 2 in white and 2 in black, starting with a magic ring.
- For the white parts, work 6 sc into the ring, then increase in the subsequent rounds until you have 18 sc.
- The black parts will be smaller, made with just one round of 6 sc for the pupils.
Nose: With orange yarn, start with a magic ring.
- Work similarly to the eyes, beginning with 6 sc, increasing to 18 sc over three rounds.
Mouth: Begin with a chain of 8 in black yarn.
- Work a sequence of dc stitches, increasing in each row to create a smiling mouth shape, finishing with a picot stitch for detail.
Assembling the Beanie
- After all pieces are completed, lay them out on the beanie to determine proper placement. The eyes usually go between rounds 4 and 8, with the nose slightly overlapping below, and the mouth positioned under the nose.
- Use stitch markers to secure pieces before sewing each on with the yarn needle and respective yarn tails.
- Stretch the picots on the mouth to achieve a pronounced smile.
Once all pieces are securely attached, you'll have crafted the cutest Elmo beanie, ready to delight any child and spark imaginative play. Feel free to experiment with colors to bring various beloved characters to life through your crochet skills.
Princess Dress With Elmo Face
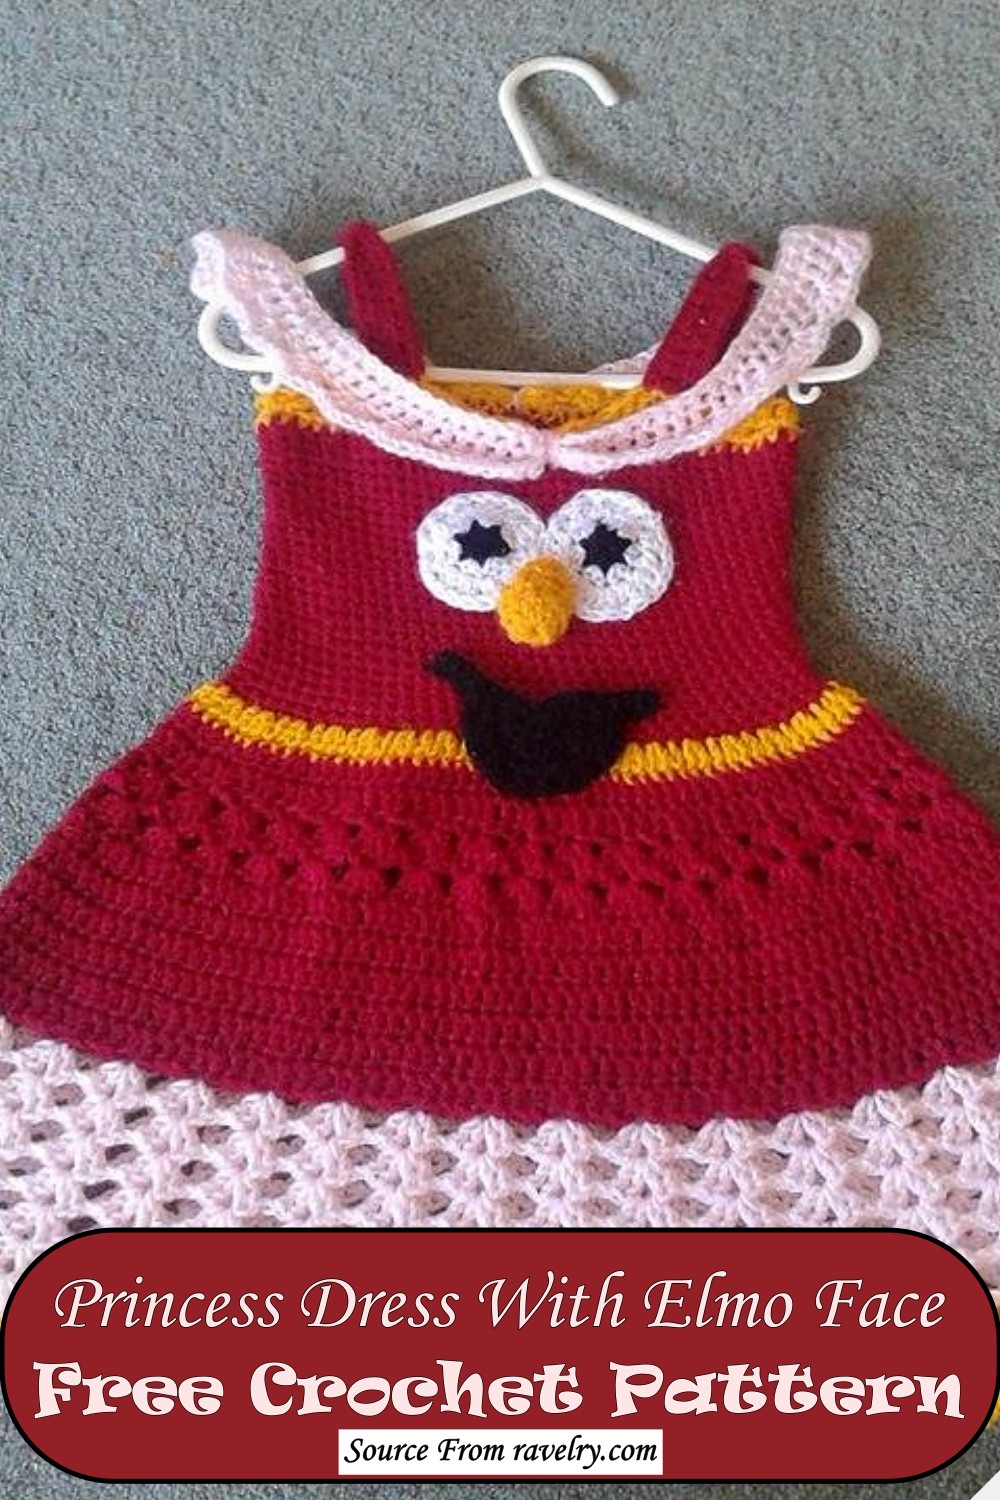
One-of-a-kind, handmade Elmo princess dress. The dress is made with a layer of red satin and red/white polka dot organza overlay. The dress's bodice features an Elmo face applique with a heart nose. The sleeves are made with an elastic hem to ease and comfort. The waistline is accented by a very thin ribbon with a fabric rose at the center. Closures are in the back by three white buttons and a hidden zipper. Perfect for that special little princess!
Certainly! Below is a simplified guide to creating a delightful Crochet Elmo Princess Dress, perfect for toddlers aged 1-3. This unique dress combines vibrant colors and the loveable face of Elmo to make a piece that will charm any young fan of the character. The body of the dress starts with a red base, transitions to a lively yellow for flair, and finishes with a lovely light pink frill at the bottom, while the top edge and straps provide a neat finish. Here's how to make your own enchanting Elmo Princess Dress.
Materials Needed:
- 5mm crochet hook
- 8 ply acrylic yarn in Red, Pink, Yellow, Black, and White
- Scissors
Abbreviations Used:
- Ch: Chain
- Sc: Single crochet
- Dc: Double crochet
- Hdc: Half double crochet
- St: Stitch
- Sl st: Slip stitch
Pattern Process:
For the Body:
- Start with Red yarn: Ch79 and sl st to form a ring.
- Row 1: Ch1, sc in 2nd chain from hook and each stitch around.
- Row 2-25: Ch1, sc in each stitch around, sl st, and fasten off.
Change to Yellow yarn:
- Row 26: Ch2, dc in same st, 1dc in next st, 2dc in following st, repeat around.
Switch back to Red:
- Row 27-28: Ch2, dc in each stitch around.
- Row 29: Ch2, work [1dc,ch2,2dc] in same stitch, skip 2 sts, repeat to end.
Continue with pattern instructions for additional ruffles and change to light pink yarn for the final frills.
For the Edging:
- Using Yellow yarn: Work a simple scalloped edge around the bottom and top parts of the dress following the pattern instructions.
For the Straps (Make 2):
- Ch20, then sc in 2nd chain from the hook and each across for a total of 6 rows. Attach straps to the dress after shaping them into bows for a beautiful finish.
Top Center Piece:
- With Pink yarn: Ch88, join to form a ring and follow the pattern to create a charming central piece that sits atop the dress. This is crucial for the 'princess' aspect of the dress.
Elmo Applique:
- The instructions for the Elmo face applique would be provided separately, which adds the final touch to the princess dress.
This pattern is a great project for those looking to create something special for a little one who adores Elmo. The vibrant colors and adorable design make it a perfect gift.
Newborn Elmo Hat

What a great baby shower gift for a newborn photoshoot or everyday fun. The newborn Elmo hat was specifically constructed with newborns in mind, with a crown and a soft brim that could be scalloped or straight. There is extra room under the chin ties, so the tie underneath will not rub on the chin. The hat is made of 100% acrylic yarn and sewn to eliminate any seam if possible. It will be a superb handmade hat piece, and you'll surely love making it.
Materials:
- J hook
- I hook (for eyes/nose)
- Large eye needle (to weave in ends and attach eyes and nose)
- Worsted weight (WW) yarn in Red, and small amounts in Black, White, and Orange (RedHeart Super Saver yarns recommended)
- Small amount of fiberfill or yarn scraps (for stuffing)
Abbreviations:
- MR: Magic Ring
- Ch: Chain
- Sl St: Slip Stitch
- Sc: Single Crochet
- Sc2tog: Single Crochet Two Stitches Together (decrease)
- Dc: Double Crochet
- F.o.: Finish Off
- BLO: Back Loops Only
Making Process:
Hat:
- Starting with a J hook and red yarn, create a magic ring and make 10 double crochets (dc) in it. Join with a slip stitch (sl st) at the end and chain (ch) 2. (This first chain does not count as a dc).
- Make 2 dc in each stitch around (20).
- 2 dc in next stitch, 1 dc in the next. Repeat around (30).
- Skip the first stitch, dc to the last stitch, then 2 dc in the last stitch (30).
- Dc around (30).
- Repeat steps 4 and 5 two more times for a total of 30 stitches. (Add extra rounds here if a longer hat is desired).
- Single crochet (sc) around, then finish off (f.o.). Weaving in ends is recommended. Optionally, add a round of loosely worked slip stitches at the end for finishing.
Eyes (Make 2):
- With I hook and white yarn, make a magic ring and 6 sc in it.
- 2 sc in each stitch around (12).
- 2 sc in next stitch, sc in the next. Repeat around (18).
- Single crochet around for two rounds (18).
- In the back loops only, sc2tog, then sc (12). Stuff with a small amount of fiberfill or yarn scraps.
- Sc2tog around (6). Finish off, leaving a long yarn tail for attaching to the hat.
Pupils (Make 2):
- With black yarn, make a magic ring and 6 sc in it. Finish off, leaving a long end for attaching to the white eye parts.
Nose:
- With orange yarn, start with a magic ring and 6 sc in it.
- 2 sc in each stitch around (12).
- 2 sc in next stitch, sc in the next 2 stitches. Repeat around (16).
- Sc around (16).
- Sc2tog, sc in the next 2 stitches. Repeat around (12). Start to stuff the nose lightly.
- Sc2tog around (6). Finish off, leaving a long end for attaching to the hat. Lightly stuff, ensuring the nose is oblong.
Finishing:
- Attach pupils to the white eyes at the desired location, ideally in the center.
- Attach the eyes to the hat, keeping them close together and even in row height.
- Attach the nose close to the eyes, with the last worked round being the top of the nose.
- Use black yarn and a tapestry needle to create Elmo's smile.
Your crochet Elmo hat is now complete! Ready for a newborn to wear and enjoy.
Leave a comment