Are you ready to make some super cool crochet tigers that will make your crochet collection extra fun? We've got a bunch of easy patterns just for you, so you can make your very own elegant tiger amigurumi. It's really fun and simple to do! In our guide, we've put together a list of these patterns to help you step by step. By following these, you'll have a beautiful crochet tiger in no time. Let's get started and bring these adorable tigers to life!
Easy Crochet Tiger Patterns

Crochet Tiny Tiger Amigurumi

Follow this amazing video tutorial to crochet a simple but unique tiger amigurumi by yourself in no time.
Materials and Equipment
Yarn:
- Orange yarn (Fine Sport #2, 55% cotton, 45% acrylic blend, 50g/160m) - 2 balls
- Black yarn (Same specifications) - 1 ball
- White yarn (Same specifications) - 1 ball
Other Materials:
- Black thread yarn for toe embroidery
- Polyester fibre fill for stuffing
Crochet Hook:
- Size 2.5mm = B/1 (2mm if using eyelash yarn)
Other Equipment:
- Scissors
- Yarn needle
- Pins with large heads
- Stitch marker or thin yarn
- 12mm safety eyes (or embroidery for children under 3 due to choking hazard)
Abbreviations Used
- MR: Magic Ring
- ST: Stitch
- SC: Single Crochet Stitch
- HDC: Half Double Crochet Stitch
- DC: Double Crochet Stitch
- TC: Triple Crochet Stitch
- CH: Chain Stitch
- SL ST: Slip Stitch
- INC: Increase (two SC in the same stitch)
- L INC: Large Increase (three SC in the same stitch)
- DEC: Standard Decrease
- INV DEC: Invisible Decrease
- BLO: Back Loops Only
- FO: Fasten Off
- INV FO: Invisible Fasten Off
- (…..) x 6: Repeat the pattern inside the brackets by the given number
- {…}: Number shown inside these brackets equals the total stitches at the end of each round
Making Process
Ears
Start with white yarn (front of the ear) and orange yarn (back of the ear):
- R1: Magic Ring with 6 SC.
- R2-R4: Gradually increase as per instructions to shape the ear.
Joining:
- Place both parts together, wrong sides inside.
- With black yarn, SC the parts together around the edge.
Attach the ears to the head during the head making process at R26.
Head and Body
- Foundation Chain (R1-R4): Start with white yarn for the nose and proceed with increases and SC rows as directed.
- Transition to Orange and Black Yarn (R5-R31): Follow the pattern for color changes to create the tiger’s head and upper body. This includes stitches like SC, INC, and INV DEC. Attach 12mm safety eyes as directed.
Finishing:
- Continue with specified increases and decreases.
- Transition between colors to form the tiger’s facial features and stripes.
- Fill with polyester fibre before closing.
Final Assembly:
- Attach the head to the body.
- Embroider the toes and any additional features as desired.
This pattern emphasizes ease with minimal sewing, focusing primarily on the craft of Amigurumi. Remember, taking your time and following the video tutorials can greatly enhance the making process and final appearance of your tiny tiger.
Crochet Tall Tiger Amigurumi

Lets' create an adorable crochet tiger amigurumi, a project guaranteed to steal the hearts of craft lovers and toy enthusiasts alike. Standing impressively at 40 cm tall, this crochet tiger boasts vivid colors and an endearing charm, making it a perfect gift or a cherished keepsake. The pattern utilizes simple crochet techniques, guiding you step-by-step to breathe life into this cuddly tiger. Ready your hooks and yarn, and let’s bring this majestic crochet tiger to life!
Materials Needed:
- Yarn: Premium Yarns Baby Love or Himalaya Dolphin Baby Yarn (4 skeins of Baby Love or 2 skeins of Himalaya for the main color, additional colors for details)
- Crochet Hook: Size 4mm
- Stuffing: Polyester fiberfill
- Eyes: 14mm safety eyes
- Thread: Thick white thread for detailed work and black, white yarn for stripes and facial features
- Needle: Regular sewing needle
- Scissors
- Marker: For marking stitches
Abbreviations:
- Ch: Chain
- Sc: Single crochet
- Inc: Increase (2 sc in the next stitch)
- Dec: Decrease (sc 2 together)
- St(s): Stitch(es)
Making Process:
- Legs: Start by creating a loop and crochet 6 sc into it. Increase in each stitch in the second round. Continue increasing as instructed to form the leg, filling with polyester as you go. Complete the decrease sequence to shape the foot. Secure and cut the yarn after the last row.
- Tightenings and Details: Use a thick white thread to create tightenings on the legs and arms by pulling the thread through the stitched parts, creating the tiger’s distinct features.
- Arms: Similar to the legs, start with a loop but follow the arm pattern's specific increase and decrease instructions to shape the arms correctly. Add stuffing as needed and finish off with secure tightening for the wrists.
- Body and Head: (The details for the body and head were not specifically included in the provided information, but generally, you would continue to crochet in rounds, increasing and decreasing as necessary to shape the body and head of the tiger. Add stripes and features as you go.)
- Assembly: Attach the legs and arms to the body. Sew on the safety eyes, and embroider the nose, mouth, and any additional stripes or spots needed to bring your tiger to life.
- Final Touches: Using black yarn, add the finishing touches with decorative stripes across the tiger’s body, legs, and arms to mimic the characteristic tiger pattern.
Crochet Tiger Baby Blanket Pattern
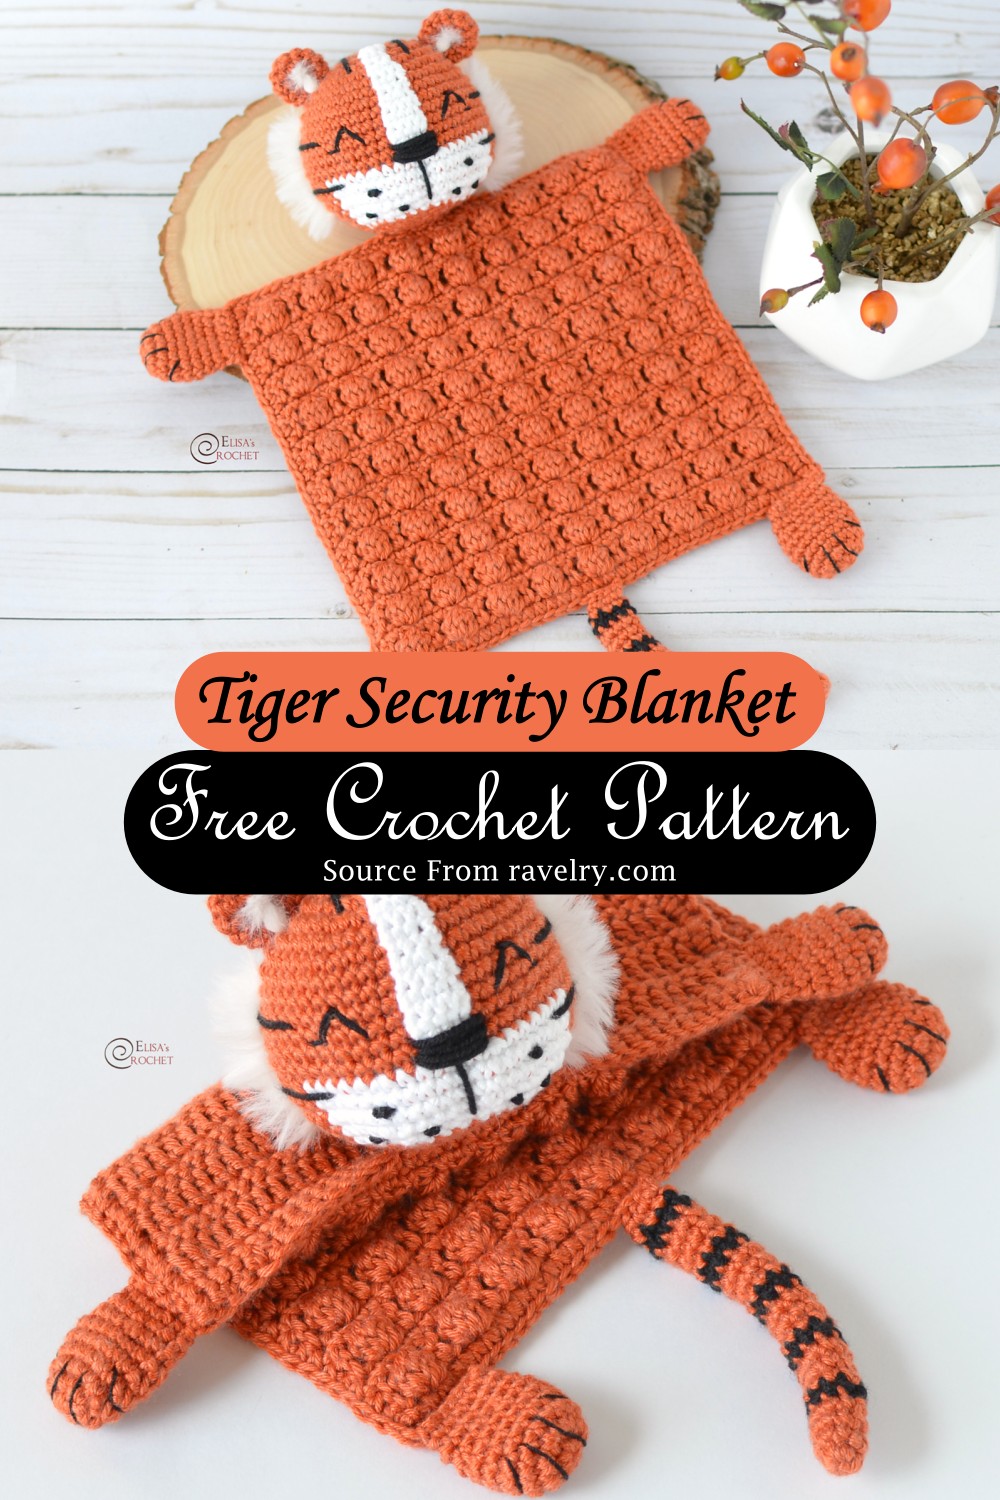
The Security Blanket makes a wonderful gift for any occasion and would be a wonderful addition to any nursery! The blanket comes with its security blanket tag! The blanket is large enough to use beyond the baby years too! This charming project not only creates a wonderful toy but also a sensory experience for little ones with its different textures. Using light and super bulky yarn, this pattern provides a plush little friend complete with an attached security blanket.
Whether for a baby shower gift or as a comforting toy for your own child, this tiger amigurumi is an enjoyable make for intermediate crocheters looking to add a touch of whimsy to their crochet collection.
Materials Needed:
- Yarn: Light (3) in Rust, White, and Black; Super Bulky (6) Fur Yarn in Cream; Cotton Thread in Black
- Crochet Hook: 3.25 mm
- Poly Filling
- Tapestry Needle
Abbreviations:
- mr: magic ring
- st: stitch
- sl st: slip stitch
- sc: single crochet
- hdc: half double crochet
- dc: double crochet
- bo: bobble stitch
- BLO: back loop only
- F/O: fasten off
Making Process:
Blanket Panel A & B:
- Create two panels using rust yarn by alternating rows of single crochet and double crochet or bobble stitch rows for texture.
- After the required number of rows, do not cut the yarn and proceed to join the panels by crocheting the edges together with single crochet stitches.
Head:
- Start with rust yarn and begin rounds in a magic ring, increasing stitches consistently to form a sphere.
- Switch to white yarn at designated rounds to create the face, and then decrease stitches to close the opening.
- Stuff the head with poly filling and finish off.
Ears, Legs, and Tail:
- Work ears in rust yarn with increases and even stitching, then attach them between specific rounds on the head.
- Legs and tail are started with a magic ring in rust yarn, followed by even stitching and strategic color changes for the tail.
- Stuff the legs slightly, flatten, and attach to the blanket along with the tail.
Finishing Touches:
- Embroider facial features and stripes with back yarn.
- Use fur yarn for additional details like the side hair and ears.
- Finally, attach all pieces following the instructions, ensuring everything is secure.
By following the detailed steps provided in the pattern, crafters will be able to create a cozy and adorable tiger security blanket, perfect for little ones to snuggle with.
Crochet Tiger Chinese New Year

This adorable Crochet Tiger pattern is the perfect gift! This baby tiger will be a great addition to your zoo or a charming pillow. Add stripes, cute paws and a long tail in a sweet sitting position. Add eyes and nose, and it’s done! These sweet animals could be adopted as a pet or friends by the young or old alike! Keep in mind, the project is divided into two parts - focusing on the tiger's head, ears, body in the first, and the limbs, tail, and assembly in the second.
So explore the joy of amigurumi crafting with this delightful tiger, celebrating the lunar year of the Tiger or simply your love for these magnificent animals.
Materials:
- Coboo Yarn (lightweight level 3) in colors: Peach (~48 g/111 yds), Taupe (~14 g/32 yds), White (~9 g/21 yds), and Pink (~1 g/2 yds)
- Super bulky fluffy white yarn (~2 g/5 yds) for the head
- 2.75 mm Clover Amour Hook
- Yarn needle (a bent tip is helpful for attaching amigurumi parts)
- Lock ring stitch markers
- Fiberfill for stuffing
- 7.5 mm safety eyes
- Beige/tan embroidery floss for the mouth line
Abbreviations:
- Inc (Increase): Work 2 single crochets in the next stitch.
- Dec (Invisible Decrease): Insert hook into front loops of the next two stitches, yarn over and draw through two loops, yarn over and draw through remaining loops.
- BLO (Back Loop Only): Crochet stitches in the back loop only for a defined edge.
- Sc: Single crochet
- Sl st: Slip stitch
Making Process:
Head & Snout:
- Snout: Start with white yarn in a magic ring, then increase each round until you have the base of the snout. Switch to peach yarn as you continue to enlarge the piece. Finish off with a slip stitch.
- Triangular Nose: Using peach yarn and working in turned rows, create a small triangle that will form the nose’s base, then attach it to the snout.
- Head: Begin with a magic ring in peach yarn and increase at intervals to form the base of the head. Insert safety eyes between rows after adding the eye roundies (constructed separately with increases from a magic ring).
- Adding Features: Seam the snout onto the head and then embroider the stripes with taupe yarn. Add the fluffy white yarn to the sides of the head.
Ears & Body:
- Ears: Crochet two sets of triangles (one white, one brown) and sew them together.
- Body: Piece the body in peach yarn, including an ovular white belly, with increases and smooth transitions between colors for a neat finish.
Final Details:
- Eye Indentation: To add depth to the eyes, use long peach yarn strands tied around the safety eye posts, then crisscross inside the head, exiting towards the back/bottom.
- Filling & Assembly: Fill the head and body with fiberfill. Attach the triangular nose and the snout to the head, then position the ears and securely stitch them in place. The final assembly involves connecting the body, head, and limbs to form your tiger in a sitting position. Optionally, you can stitch through the legs and arms to keep them in place.
Through these carefully detailed steps, even beginner crocheters can bring this charming tiger amigurumi to life, adding a touch of handmade warmth to any room or heart.